


Oh, Happy Marcus Monday, everyone!! Today, we spotlight my dear friends, Paula Barnes and Mary Ellen Robison of Red Crinoline Quilts! This dynamic duo create some of the most gorgeous traditional quilts of our time. I love their work!! Paula designs historic reproduction fabrics for Marcus and I've been a fan for a very long time.
Did you buy a kit ahead of time to sew along with them? I hope so! I can't wait to check out their video and see what hints they have to offer. I've taught with Paula several times and have learned quite a bit just from hanging around her, so I'm sure you will, too! Be sure to LIKE/FOLLOW/SHARE on the Red Crinoline Facebook and Instagram pages for a chance of a giveaway of some of Paula's fabric.

Sewing Room Make-over Update
I'm almost done with moving everything back into my sewing room. I work on things a couple of hours in the morning, taking my time, and deciding just how I want to handle storing things. What I'm talking about are UFO's, projects in-the-works, scraps that have been starched but need cutting, and scraps that need starch. All the odds and ends we have.

In the photo above, I bought two pretty storage boxes from Michael's to keep the fabric for two larger quilts together. I used to put it all into clear plastic bags so I could see what was in there, but it all became a mountain of bags that slid around and made a mess. Now, all the stuff I need is in the box, and it all looks really nice.


I happened to have this product from Paper Source on hand, but good 'ol Modge Podge works well, too.
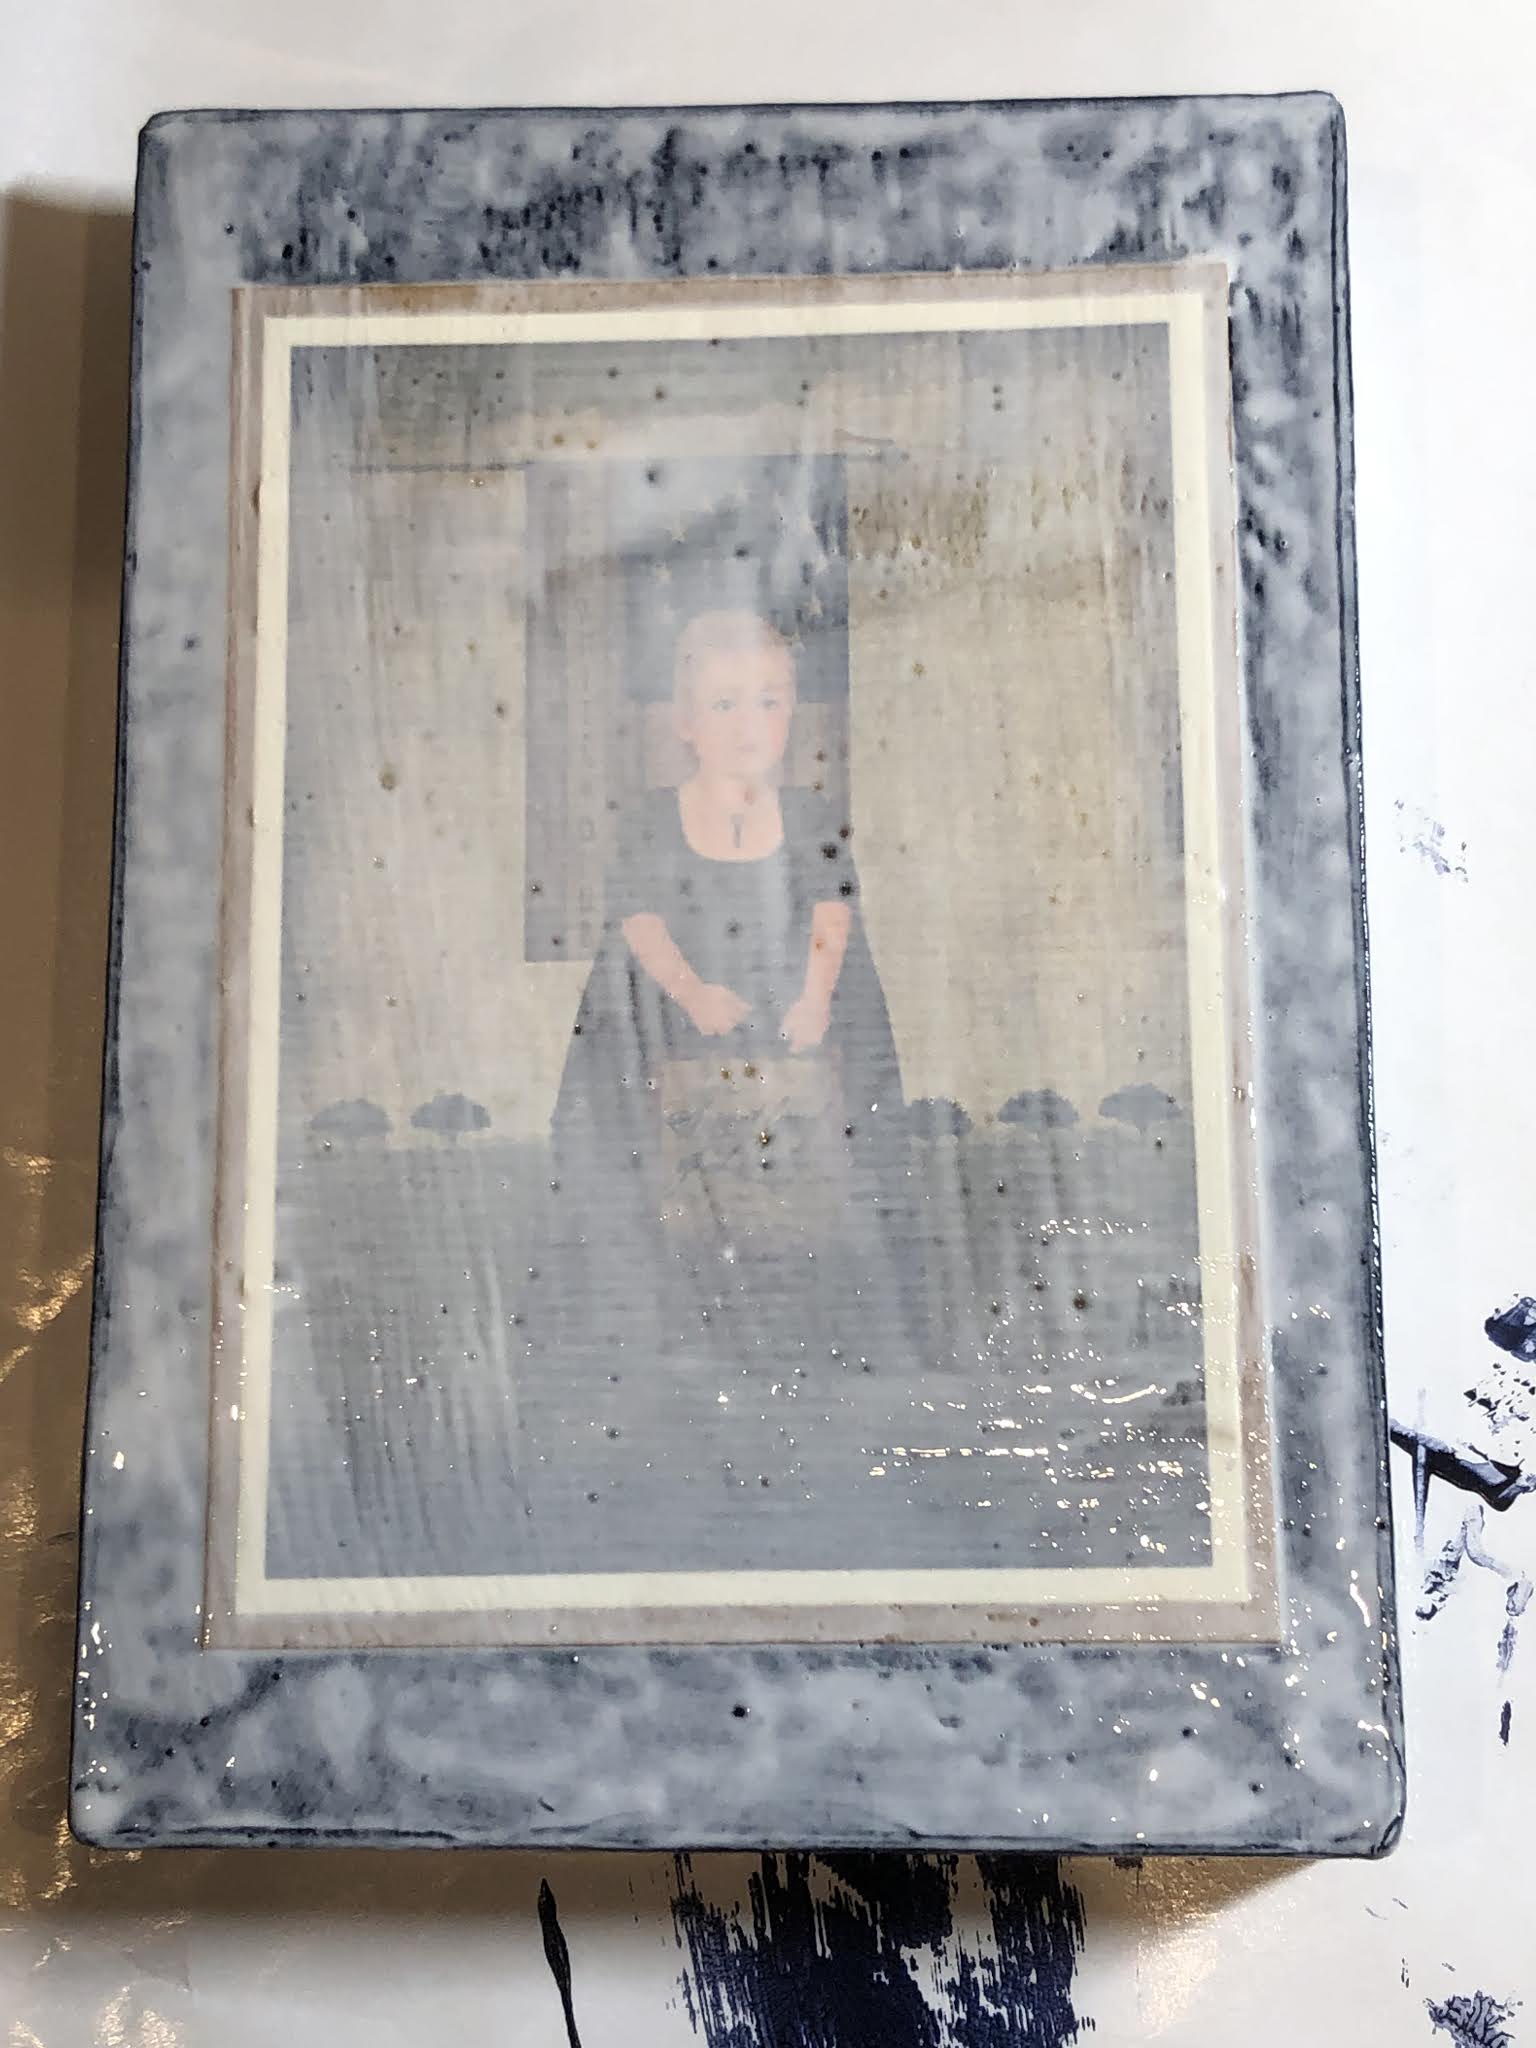


I'm thinking they would be so fun to make for tucking Christmas gifts inside, and the box is a gift as well. Save your cute greeting cards, photos or other paper memorabilia and decorate a box. It took minutes to make (hours to dry but I was doing other fun things) and costs pennies. And, I was totally playing - it was fun!!
Hope this idea is something that you can use in your life. If you have pretty storage ideas, I'd love to hear from you! I have a few more things cooking in the sewing room to share in the next few weeks, so stay tuned.
I encourage you to follow
me on Instagram and Facebook for behind-the-scenes posts that
don't appear here on the blog.
Be well, my friends....keep on stitching!
Would you mind sharing Karen's site to purchase cards? thank you
ReplyDeleteI love what you've done with the boxes! What a beautiful yet inexpensive way to make your sewing room a special place to be.
ReplyDeletePam, I am loving your studio makeover and the great storage ideas. The boxes are adorable and who wouldn't love to receive a small quilted table runner in one of them? Doesn't it make your heart just zing to have a clean organized studio? Thanks for sharing!
ReplyDeletePam ~ Love what you you did with the card!! Ans how fun is it to store your things in a sweet box!! Thanks again for the inspiration. I have a few of those boxes, now I'm on the hunt for the perfect photo!
ReplyDelete