Another week has passed and I hope you found a little time for yourself to sew this past week. I did! I spent quite a bit of time last Saturday, and snuck in some time here and there during the week to sew. It just feels so fulfilling to me.
Let's get started on finishing our sweet little quilt!
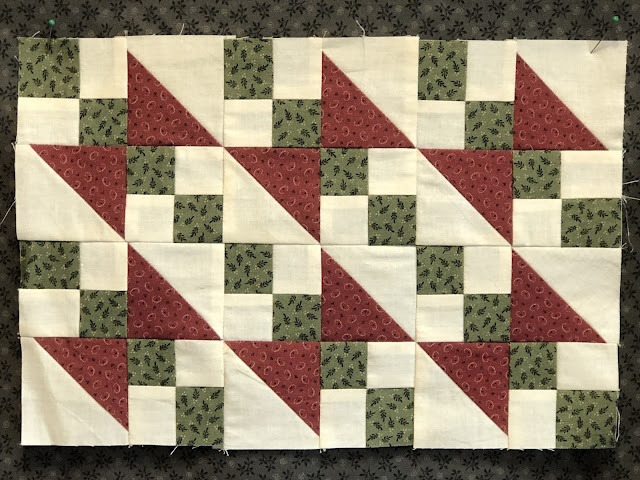
Arrange your six blocks like the photo above. Sew the blocks into rows; press. Sew the rows together; press. Check your pattern for the quilt center measurements as we need to know them for the next step.
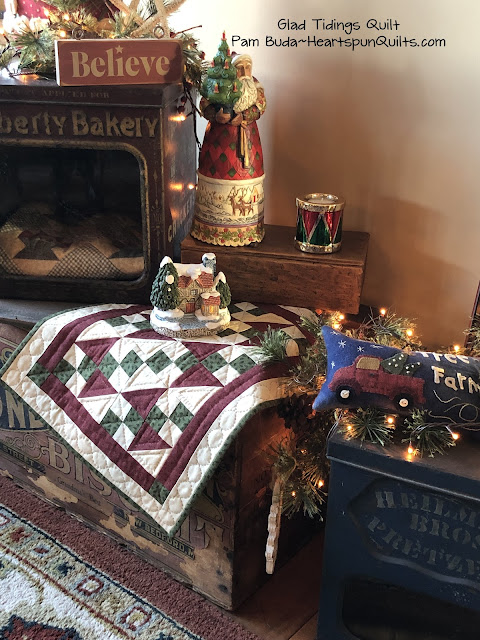
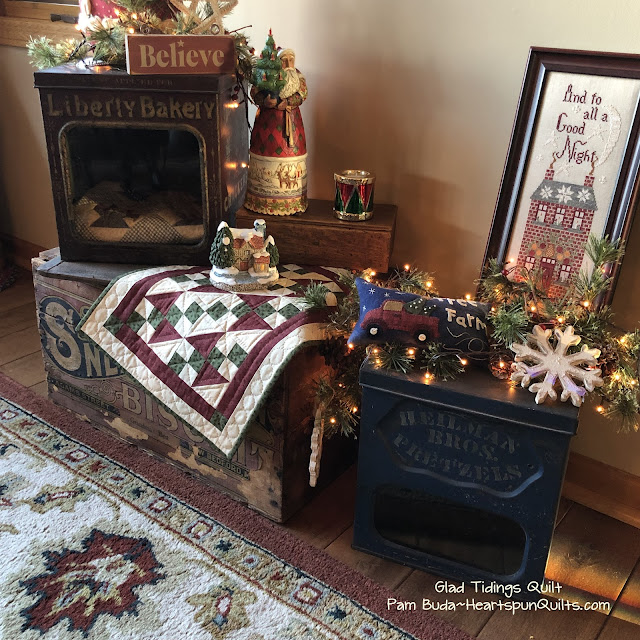
Sew the side borders to the quilt; press. Sew the cornerpost squares to the top/bottom borders; press to the border. Then, sew the top/bottom borders to the quilt top. It's so cute already!Add the Aged Muslin border and your Glad Tidings quilt top is complete! Yay!! These little quilts don't really need a whole lot of quilting, but I chose to hand quilt mine because I really need the practice. I just chose to quilt a few simple designs because, quite frankly, that's all I know how to do. It never ceases to amaze me how textiles warm a vignette. There's just nothing like it. This charming quilt is just perfect for my kitchen display. I love it! (In case you're wondering, the wool Tree Farm pillow was a free pattern on my blog many years ago, and the "And To All A Good Night" cross stitch is by Blackbird Designs.)
I sincerely hope you have enjoyed making Glad Tidings with me. It's a pleasure to sew along with all of you and bring these old quilts to a new life. Please post photos of your quilt on social media with the #QuiltArchaeology hashtag. We would all enjoy seeing each other's quilts!
I wish you and your family a very Happy Holiday season, and most of all, a healthy New Year.
Keep your needle busy and your heart content!


No comments:
Post a Comment